


The rhythmic dance between the engine and transmission in your car is orchestrated by a humble yet crucial component – the clutch. This unsung hero ensures seamless gear changes, contributing to the overall performance and drivability of your vehicle.
Over time, however, wear and tear take their toll, necessitating a replacement. Fear not, for armed with our comprehensive guide, you’ll embark on a journey to master the essentials of car clutch replacement, empowering you to keep your vehicle in prime condition.
Understanding the Basics
To embark on the journey of car clutch replacement, it’s essential to comprehend the fundamental principles governing your vehicle’s clutch system. The clutch acts as the intermediary between the engine and the transmission, allowing for the disengagement and engagement of power as you shift gears. Delve into your vehicle’s specifics, as the design and mechanism of the clutch system can vary significantly across different makes and models.
Diagnostic Steps
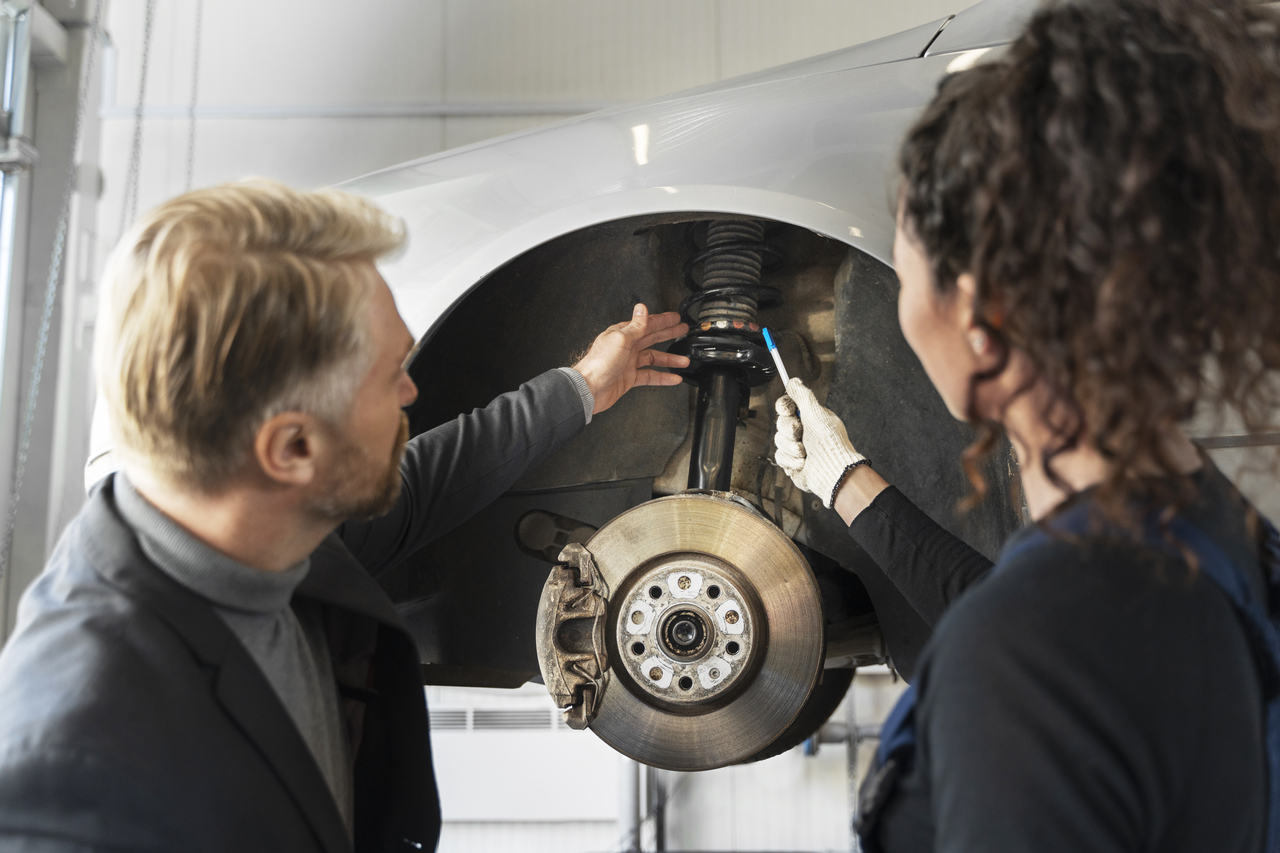
Before rolling up your sleeves, it’s paramount to diagnose the issue at hand. Is your clutch slipping, struggling to maintain grip during gear changes? Are there peculiar noises emanating when you engage the clutch pedal? These symptoms provide crucial clues, guiding you towards the root cause and helping you determine whether a replacement is indeed the necessary remedy.
Gathering Tools and Parts
Preparation is key to a successful clutch replacement project. Assemble the necessary tools, including a reliable jack and jack stands, a comprehensive socket set, a torque wrench, and a clutch alignment tool. Additionally, secure a high-quality clutch kit tailored to your vehicle’s specifications, typically comprising the pressure plate, clutch disc, and release bearing.
Step-by-Step Replacement Process:
Safety First: Before diving into the intricacies of clutch replacement, prioritize safety. Disconnect the car battery, lift the vehicle securely using jack stands, and don the appropriate protective gear.
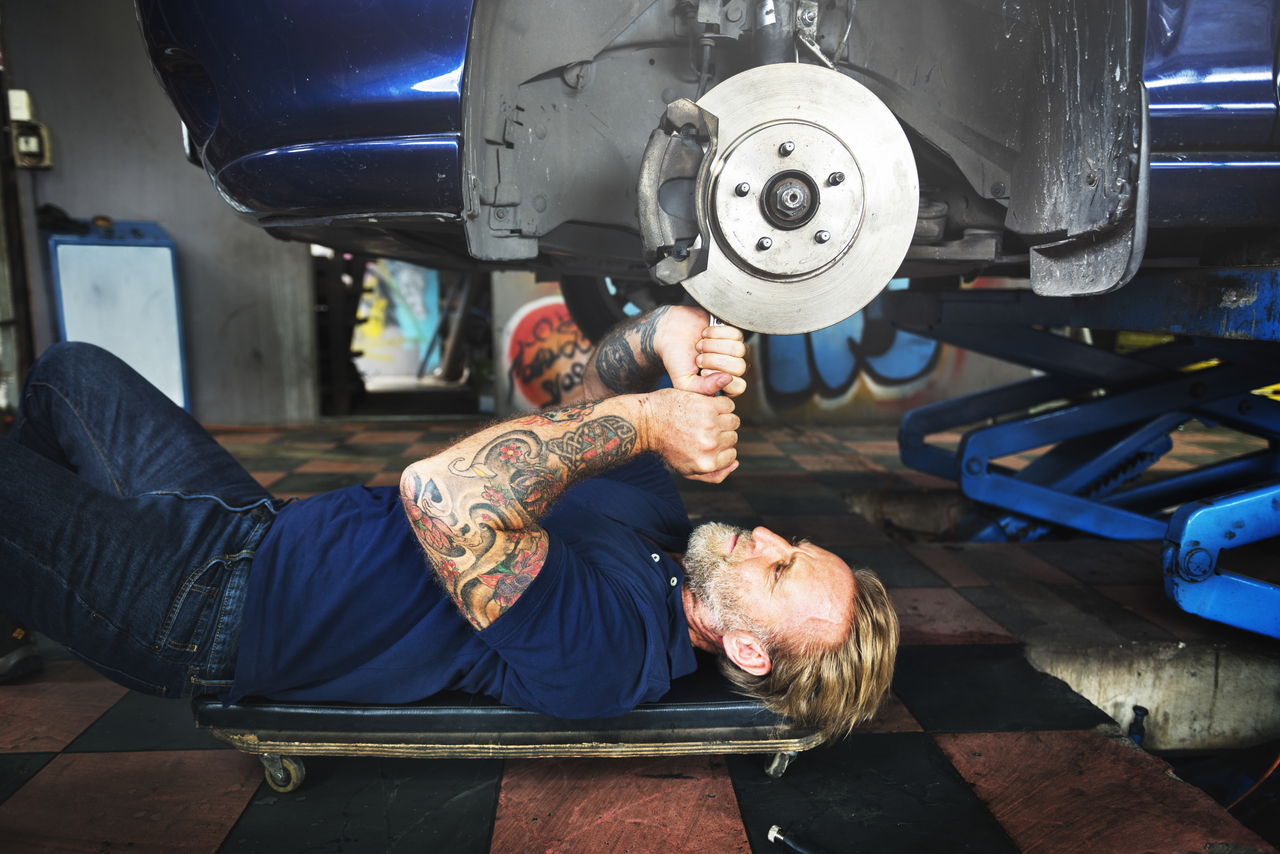
Accessing the Clutch: Begin the process by gaining access to the clutch components, which may involve removing the transmission. Consult your vehicle’s service manual for detailed instructions on the disassembly process.
Removing the Old Clutch: Once you’ve reached the clutch components, meticulously detach the pressure plate, clutch disc, and release bearing. Take note of any alignment marks to guide the reassembly process. Simultaneously, inspect the flywheel for any signs of damage or wear.
Installing the New Components: Follow the manufacturer’s instructions diligently as you install the new clutch components. Use the clutch alignment tool to ensure precise alignment, a critical factor in the optimal functioning of your clutch.
Torque to Specifications: Tighten the bolts according to the torque specifications provided by the manufacturer. This step is crucial for ensuring a secure and reliable installation.
Reassembling the Transmission: With the new components securely in place, methodically reassemble the transmission, adhering to the reverse order of disassembly. Pay meticulous attention to detail to guarantee that all components are correctly aligned and fastened.
Testing and Fine-Tuning
The moment of truth arrives as you test your handiwork. Gradually engage and disengage the clutch while the vehicle is stationary, ensuring a smooth and responsive operation. Take your car for a test drive, carefully evaluating the clutch’s performance under real-world conditions.
Car clutch replacement is a significant automotive repair task that involves the removal and replacement of crucial components responsible for transmitting power from the engine to the transmission. Over time, a car’s clutch may wear out due to factors such as friction, heat, and general wear and tear. Here is a detailed description of the process, step by step:
Preparation: Before initiating the clutch replacement process, it is essential to ensure the vehicle is on a flat and stable surface. Lift the car using a hydraulic jack and secure it with jack stands. Disconnect the battery to eliminate the risk of electrical shocks during the procedure.
Accessing the Clutch Assembly: The clutch is situated between the engine and the transmission. To access it, the transmission must be removed. Begin by draining the transmission fluid to prevent spillage during the process. Subsequently, disconnect the driveshaft, speedometer cable, and any electrical connectors linked to the transmission.
Removing the Transmission: Proper support for the transmission is crucial. Use a transmission jack to support and carefully lower the transmission. Unbolt and detach the transmission from the engine, ensuring all connections are detached before removal. This step requires caution and precision to avoid damage to both the transmission and the engine components.
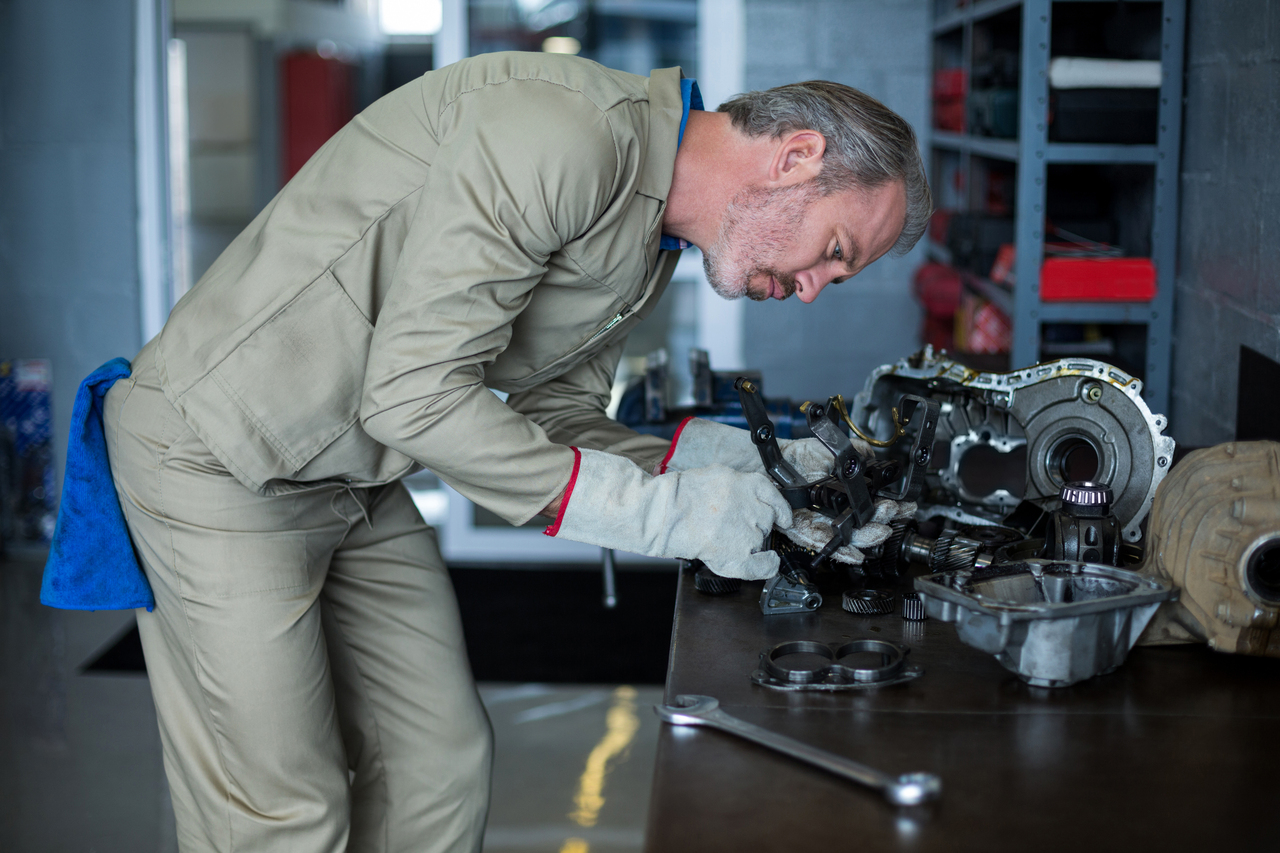
Exposing the Clutch Components: With the transmission out of the way, the clutch assembly becomes accessible. Locate the clutch housing or bellhousing and remove the bolts securing it to expose the clutch components.
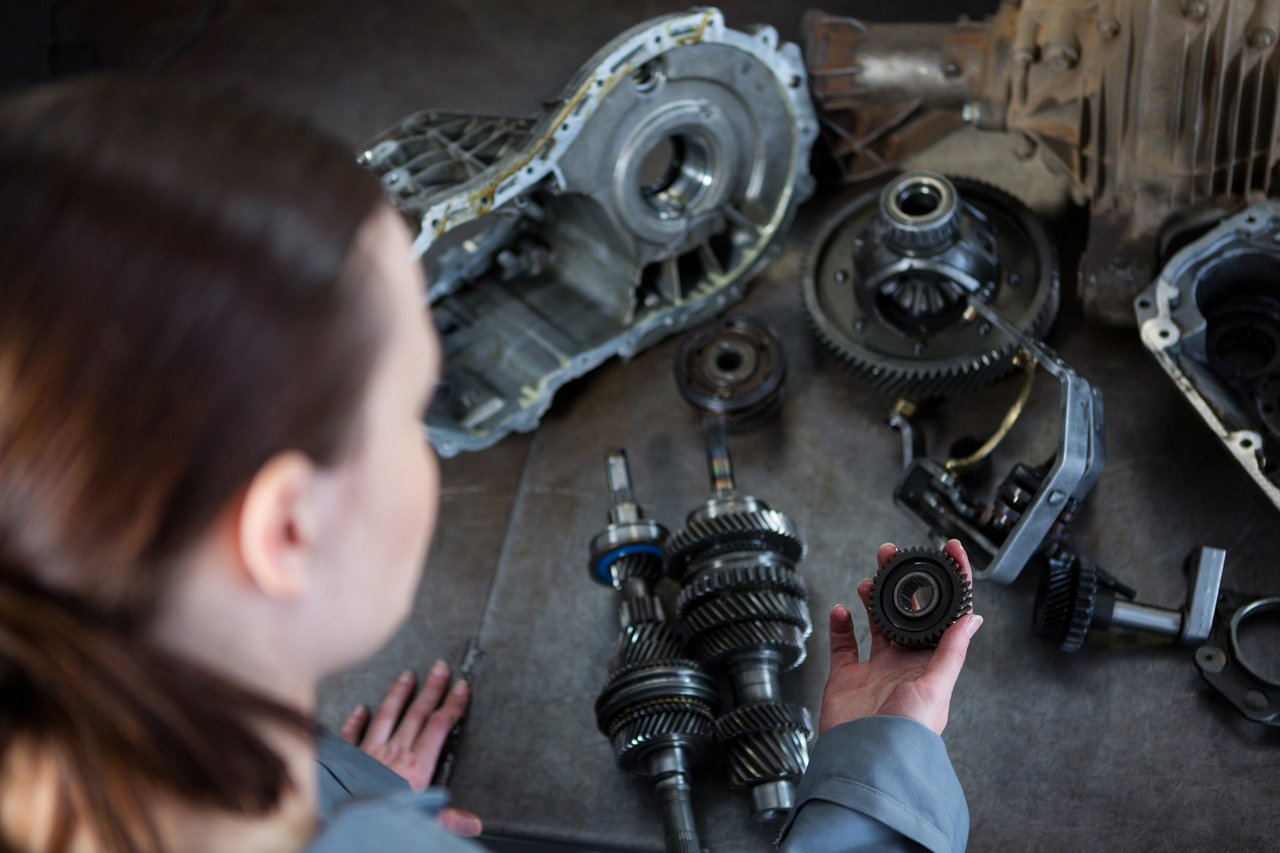
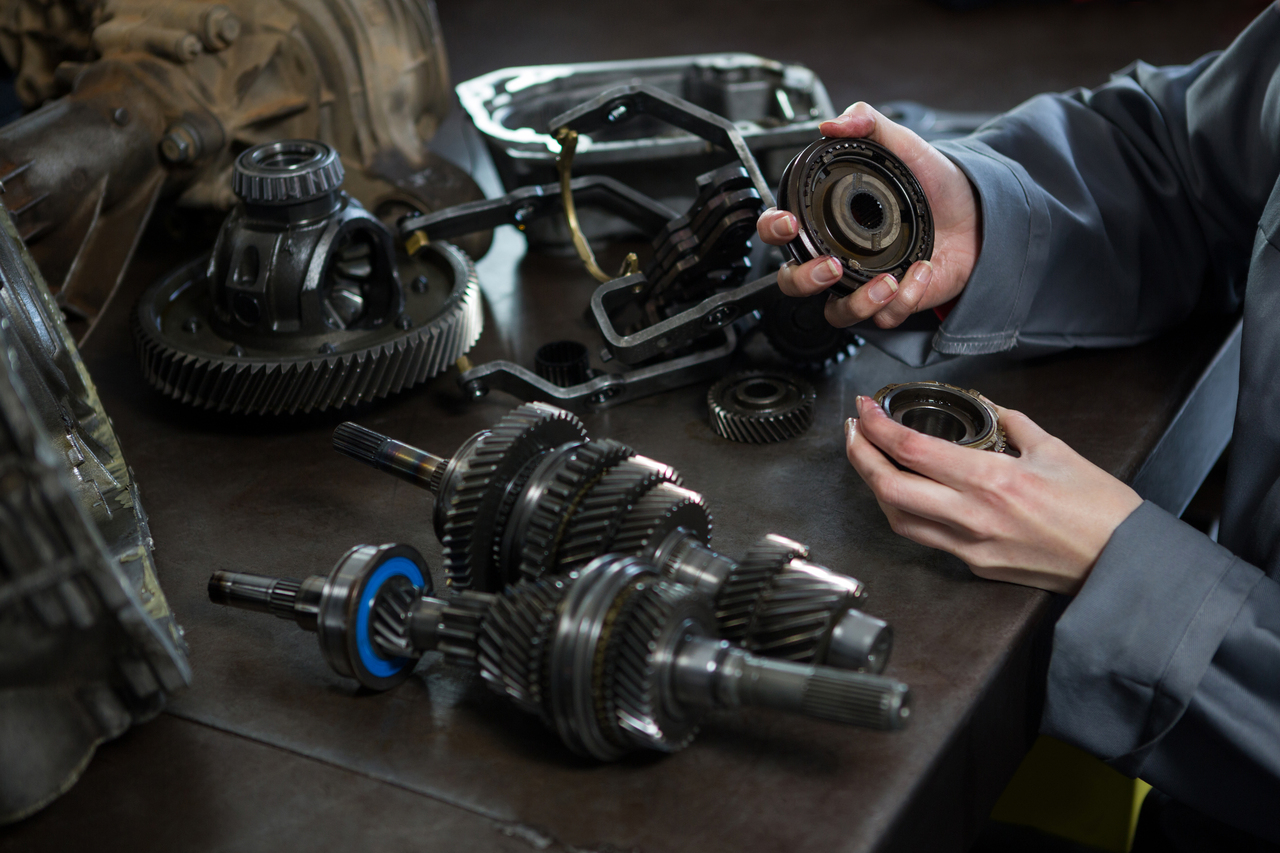
Removing Old Clutch Components: The clutch assembly consists of a pressure plate, clutch disc, and release bearing. Carefully remove the bolts securing the pressure plate and take note of any alignment marks for reference during reassembly. Remove the old clutch disc, which is sandwiched between the pressure plate and the flywheel.
Inspecting and Preparing: Inspect the flywheel for signs of wear, scoring, or other damage. If needed, the flywheel may need to be resurfaced or replaced. Clean the mating surfaces of the flywheel and pressure plate to ensure a proper connection with the new components.
Installing New Clutch Components: Place the new clutch disc onto the flywheel, using an alignment tool to ensure proper positioning. Attach the pressure plate and hand-tighten the bolts. Follow a crisscross tightening pattern to evenly distribute pressure. Torque the bolts to the manufacturer’s specifications.
Replacing the Release Bearing: Install the new release bearing onto the transmission input shaft. Apply a small amount of grease to the release fork pivot points to ensure smooth operation.
Reinstalling the Transmission: Carefully align the transmission input shaft with the splines on the clutch disc. Reconnect the transmission to the engine, tightening all bolts securely. Reattach the driveshaft, speedometer cable, and any electrical connectors that were disconnected earlier.
Filling Transmission Fluid: Refill the transmission with the appropriate fluid as specified by the vehicle’s manufacturer.
How Service My Car Assists You?
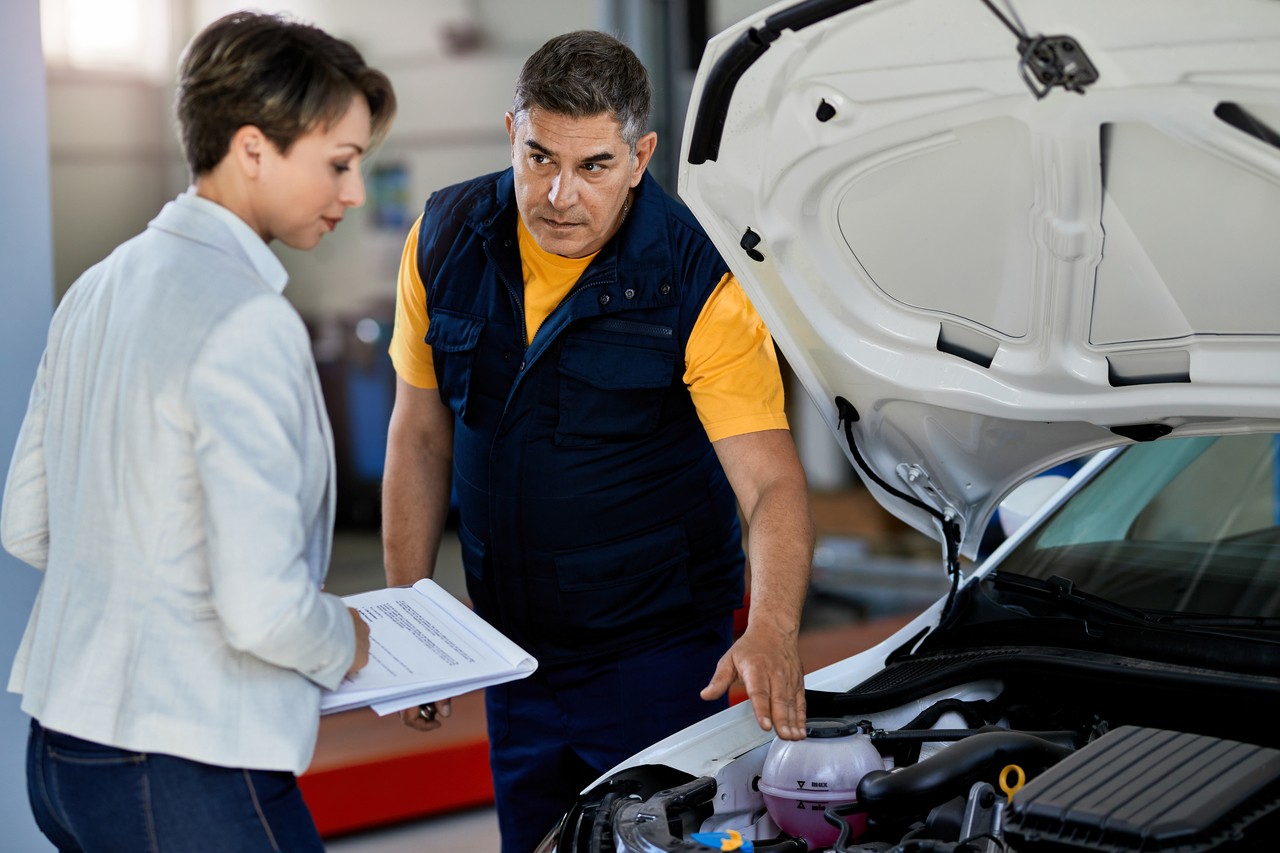
Have you reached a point where you’re questioning, “Where can I find the mazda service centre for my mazda?” Look no further. At Service My Car, we provide premium mazda servicing, repair, and maintenance services, always within your reach. With specialized service offerings for the mazda and comprehensive service packages, we ensure the collection and drop-off of your vehicle following its maintenance.
Conclusion
Embarking on the journey of car clutch replacement is not only a cost-effective alternative to professional repairs but also an opportunity to deepen your understanding of your vehicle’s inner workings. Patience, attention to detail, and strict adherence to safety protocols are your allies throughout this intricate process. As you hit the road once more, you can rest assured that you’ve mastered the essentials of keeping your vehicle’s transmission in perfect harmony. This comprehensive guide serves as your roadmap to a seamless and successful car clutch replacement.